

Valves are essential components in various industries, from plumbing to industrial processes. Proper installation of valves is crucial to ensure their optimal performance and longevity. This article provides a comprehensive guide to valve installation, covering the key steps and considerations to ensure a successful installation.
**Understanding Valves**
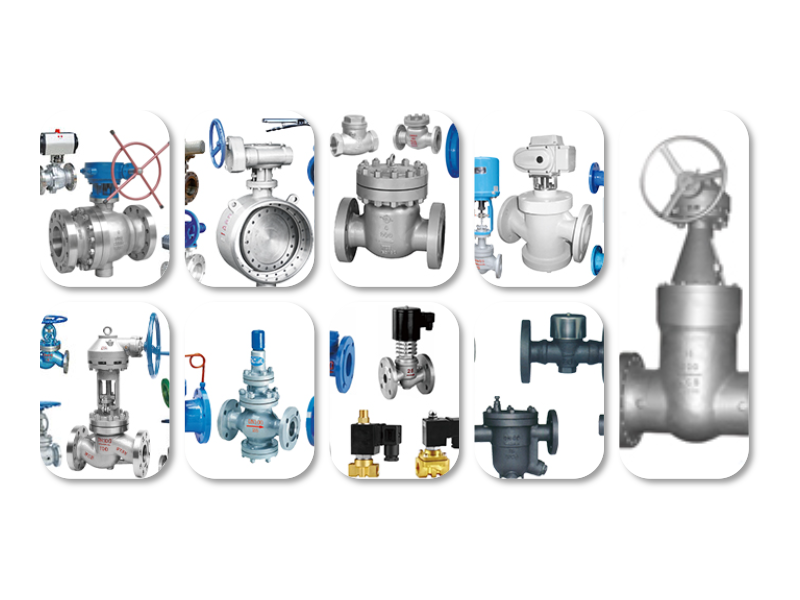
Before diving into the installation process, it's important to understand the different types of valves available. Valves are categorized based on their function, such as controlling flow, pressure, or temperature. Some common types of valves include gate valves, ball valves, check valves, and butterfly valves. Each type has its own specific application and installation requirements.
**Selecting the Right Valve**
The first step in valve installation is selecting the right valve for the job. Consider the following factors when choosing a valve:
- **Application**: Determine the specific application for which the valve will be used, such as water supply, steam, or gas. - **Pressure and Temperature**: Ensure the valve is designed to handle the expected pressure and temperature of the fluid. - **Material**: Choose a valve material that is compatible with the fluid and the environment in which it will be installed. - **Size**: Select the appropriate size for the valve to ensure proper flow rate and prevent pressure drop.
**Preparation for Installation**
Once the right valve has been selected, prepare for installation by gathering the necessary tools and materials. This may include:
- **Wrenches**: To tighten or loosen valve handles. - **Pipe Cutters**: To cut the pipe to the desired length. - **Flare Nuts**: To connect the valve to the pipe. - **Thread Sealant**: To prevent leaks.
**Installation Steps**
The following steps outline the general process for installing a valve:
1. **Cut the Pipe**: Use a pipe cutter to cut the pipe to the desired length. 2. **Prepare the Pipe End**: Clean the pipe end to remove any burrs or debris. 3. **Install the Valve**: Place the valve on the pipe and tighten the flange nuts using a wrench. 4. **Check for Leaks**: After installation, check for leaks by applying pressure to the system and inspecting the valve connection. 5. **Test the Valve**: Operate the valve to ensure it opens and closes smoothly.
**Safety Precautions**
Valve installation can be hazardous if not performed safely. Always follow these safety precautions:
- **Wear Protective Gear**: Use gloves, safety glasses, and other protective equipment to prevent injury. - **Ventilation**: Ensure proper ventilation when working with hazardous materials or in confined spaces. - **Lockout/Tagout**: Use lockout/tagout procedures to prevent accidental startup of the system during installation.
**Regular Maintenance**
Proper maintenance is essential to ensure the continued performance of valves. Regularly inspect and maintain valves to prevent leaks, corrosion, and other issues. This may include:
- **Cleaning**: Clean valves and associated components to remove debris and buildup. - **Inspection**: Inspect valves for signs of wear, damage, or corrosion. - **Replacement**: Replace worn or damaged components as needed.
**Conclusion**
Valve installation is a critical process that requires careful planning and execution. By following this comprehensive guide, you can ensure a successful installation and extend the life of your valves. Always prioritize safety and regular maintenance to keep your system running smoothly.







 Chat Oline