

Valves are essential components in various industries, from plumbing to engineering, ensuring the safe and efficient flow of fluids. Proper installation of valves is crucial for maintaining system integrity and preventing costly repairs. This article serves as a comprehensive guide to valve installation, covering essential steps, safety precautions, and maintenance tips. Whether you are a seasoned professional or a DIY enthusiast, this manual will equip you with the knowledge to install valves with confidence.
**Introduction**
Valves are devices used to control the flow of fluids, including liquids, gases, and slurries. They play a vital role in regulating pressure, temperature, and flow rate in industrial and residential applications. The correct installation of valves is essential to ensure their optimal performance and longevity. This guide will walk you through the process of valve installation, from selecting the right type to completing the installation and performing routine maintenance.
**Choosing the Right Valve**
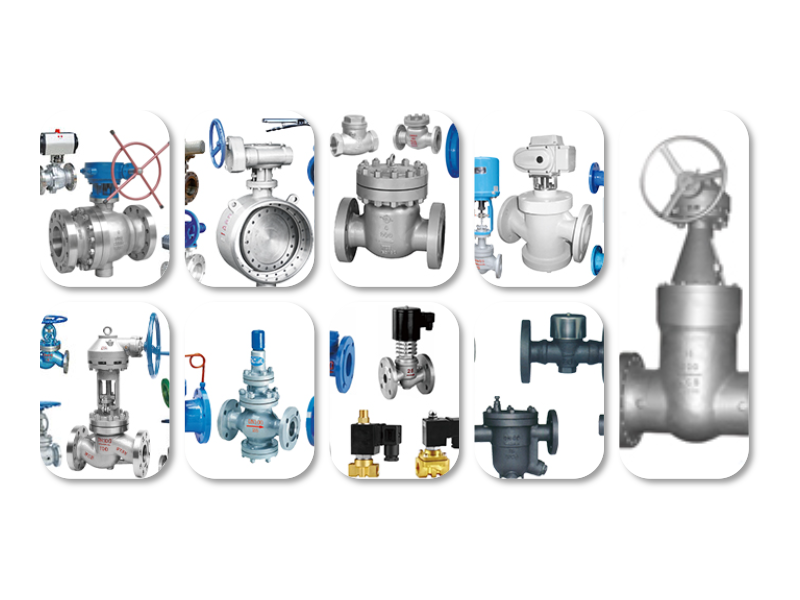
The first step in valve installation is selecting the appropriate type for your application. Consider the following factors:
- **Fluid Type**: Different valves are designed for specific fluids, such as water, air, steam, or chemicals. Ensure the valve material and design can withstand the fluid's properties. - **Pressure and Temperature**: Choose a valve that can handle the expected pressure and temperature ranges of the fluid. - **Size and Flow Rate**: Select a valve with the appropriate size and flow rate to ensure optimal performance. - **End Connections**: Determine the type of end connections required for your system, such as flanged, threaded, or焊接。
**Preparation and Safety Precautions**
Before beginning the installation process, ensure you have the necessary tools and equipment. Some essential tools include a wrench, socket set, and a valve installation guide. Always wear appropriate personal protective equipment (PPE), such as gloves, safety glasses, and a hard hat, to prevent accidents.
**Installation Steps**
1. **Positioning**: Place the valve in the correct position in the pipeline, ensuring it is aligned with the pipe's direction. 2. **Connection**: Connect the valve to the pipeline using the appropriate end connections. Ensure the connections are secure and tight. 3. **Valve Adjustment**: Adjust the valve's stem or handle to the desired position, allowing the fluid to flow as required. 4. **Testing**: Perform a leak test to ensure the valve is properly installed and there are no leaks in the system.
**Safety Precautions During Installation**
- **Avoid Cross-Threaded Connections**: Ensure the threads are correctly aligned before connecting the valve to the pipeline. - **Do Not Over-Tighten**: Use the correct torque settings to avoid damaging the valve or pipeline. - **Ventilation**: Ensure the area is well-ventilated when working with hazardous fluids or chemicals.
**Maintenance and Inspection**
Regular maintenance and inspection are essential to ensure the proper functioning of valves. Follow these guidelines:
- **Regular Inspection**: Inspect the valve regularly for signs of wear, damage, or leaks. - **Cleaning**: Clean the valve as needed to remove any debris or buildup. - **Lubrication**: Apply lubricant to the valve's moving parts to ensure smooth operation. - **Replacement**: Replace worn-out or damaged components promptly to prevent system failure.
**Conclusion**
Valve installation is a critical task that requires attention to detail and adherence to safety protocols. By following this guide, you can ensure the proper installation and maintenance of valves, contributing to the safe and efficient operation of your system. Whether you are a professional or a DIY enthusiast, this manual will help you install valves with confidence and minimize the risk of system failures.







 Chat Oline